
Last updated November 2, 2026
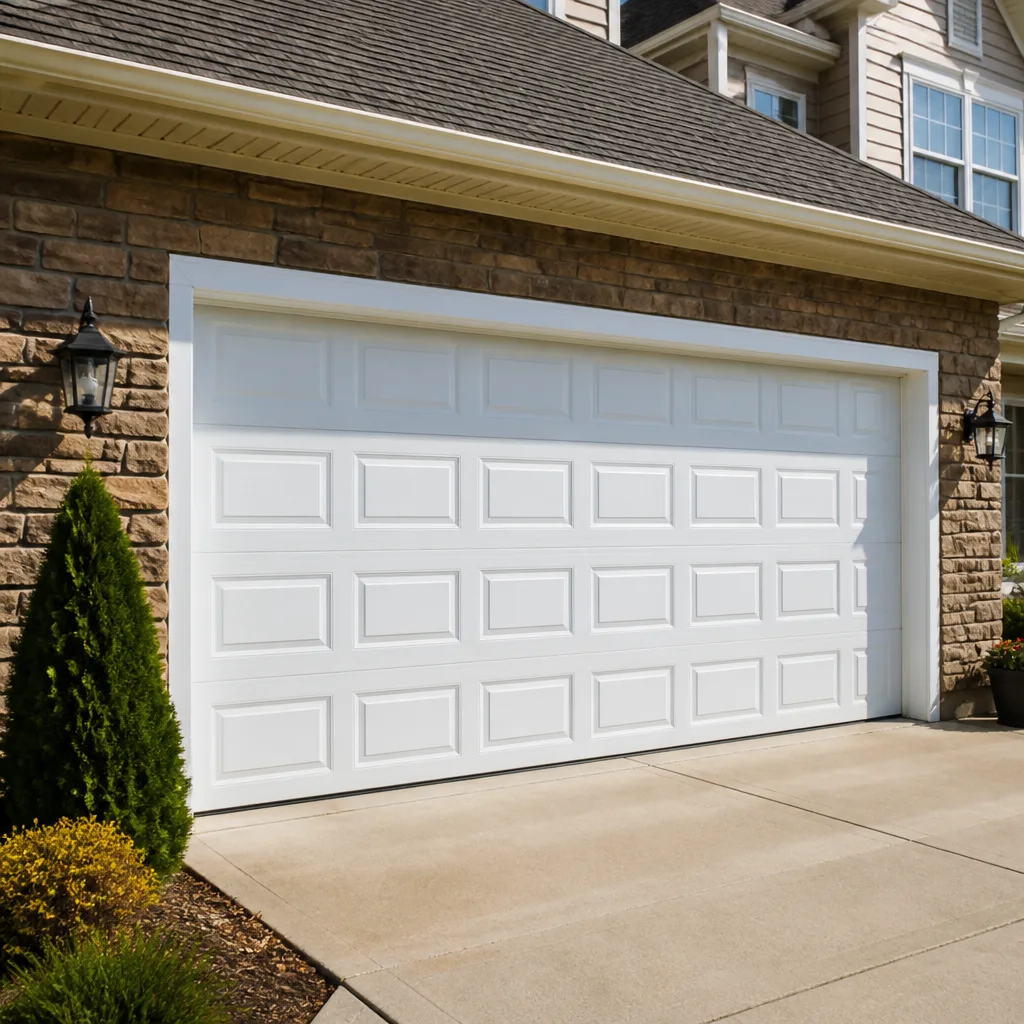 Raised-panel steel
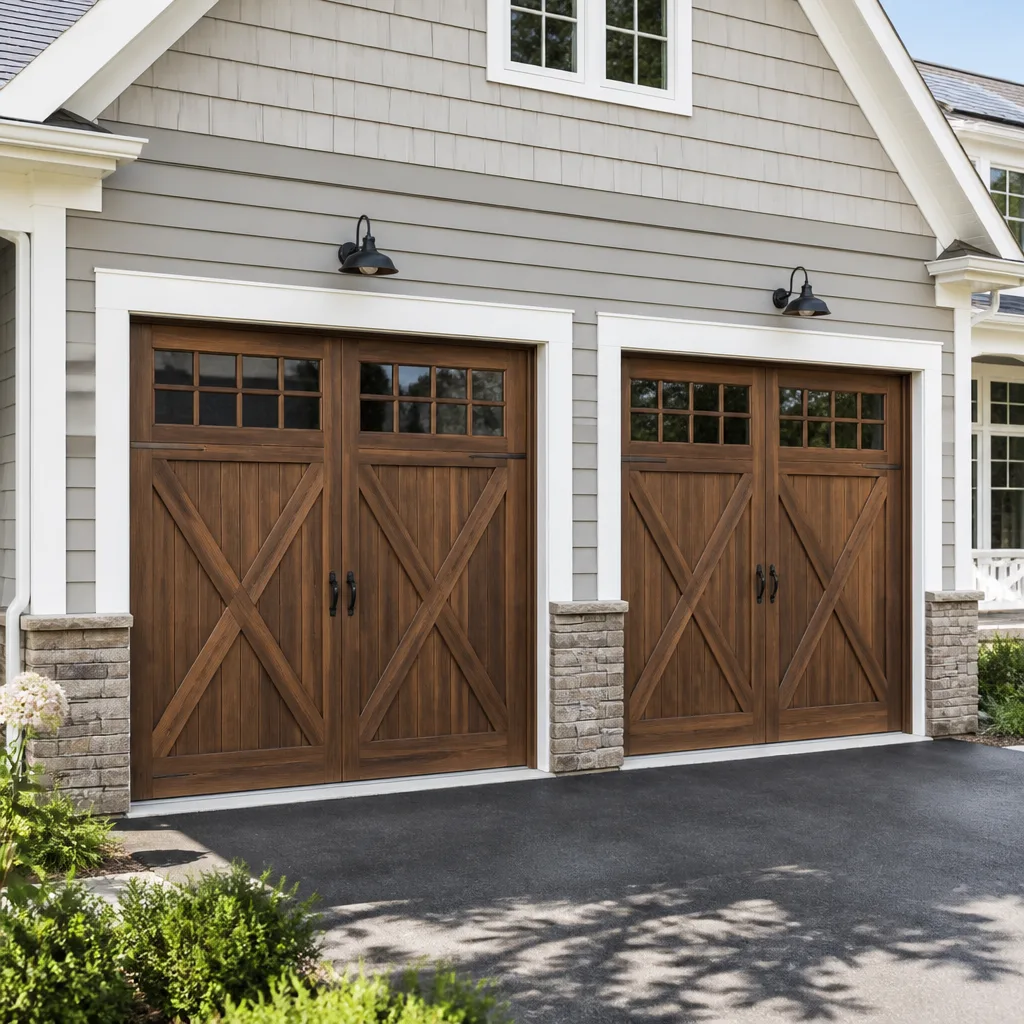 Carriage house
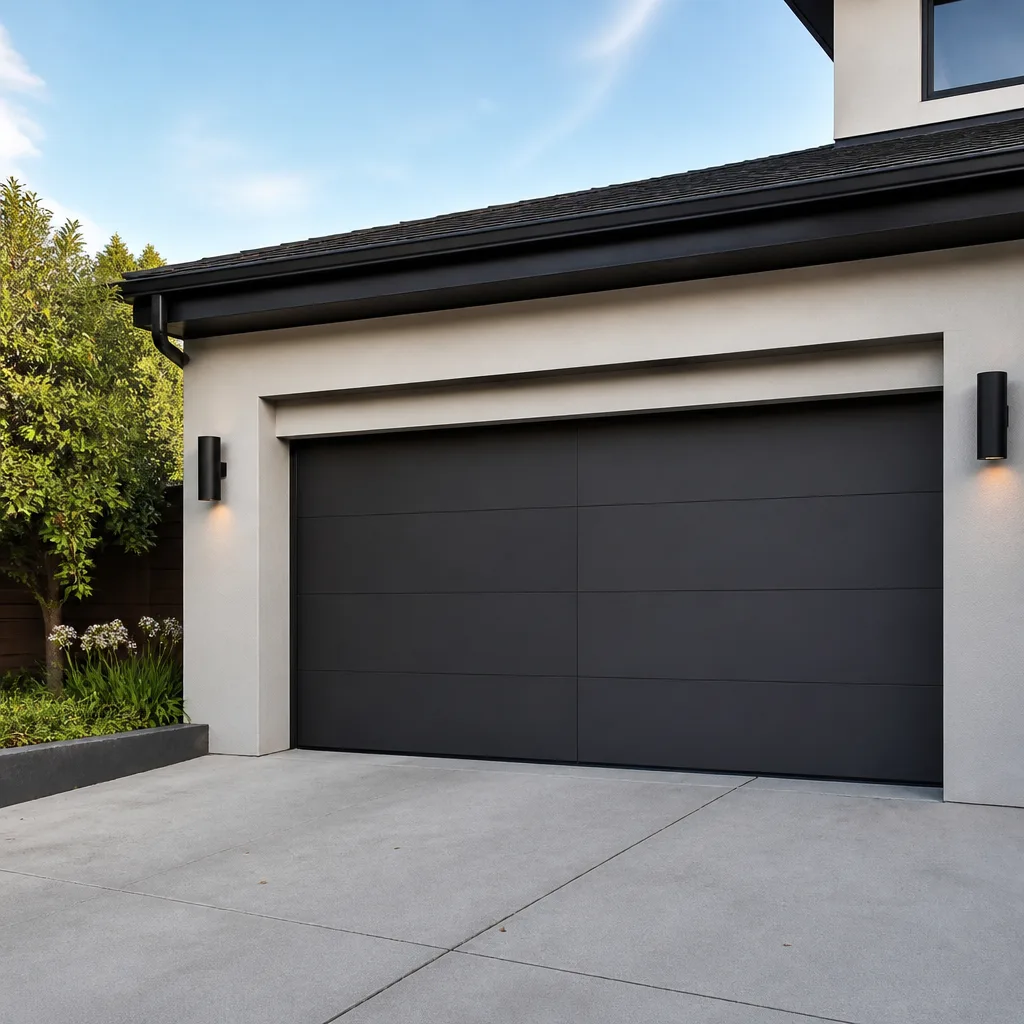 Modern flush
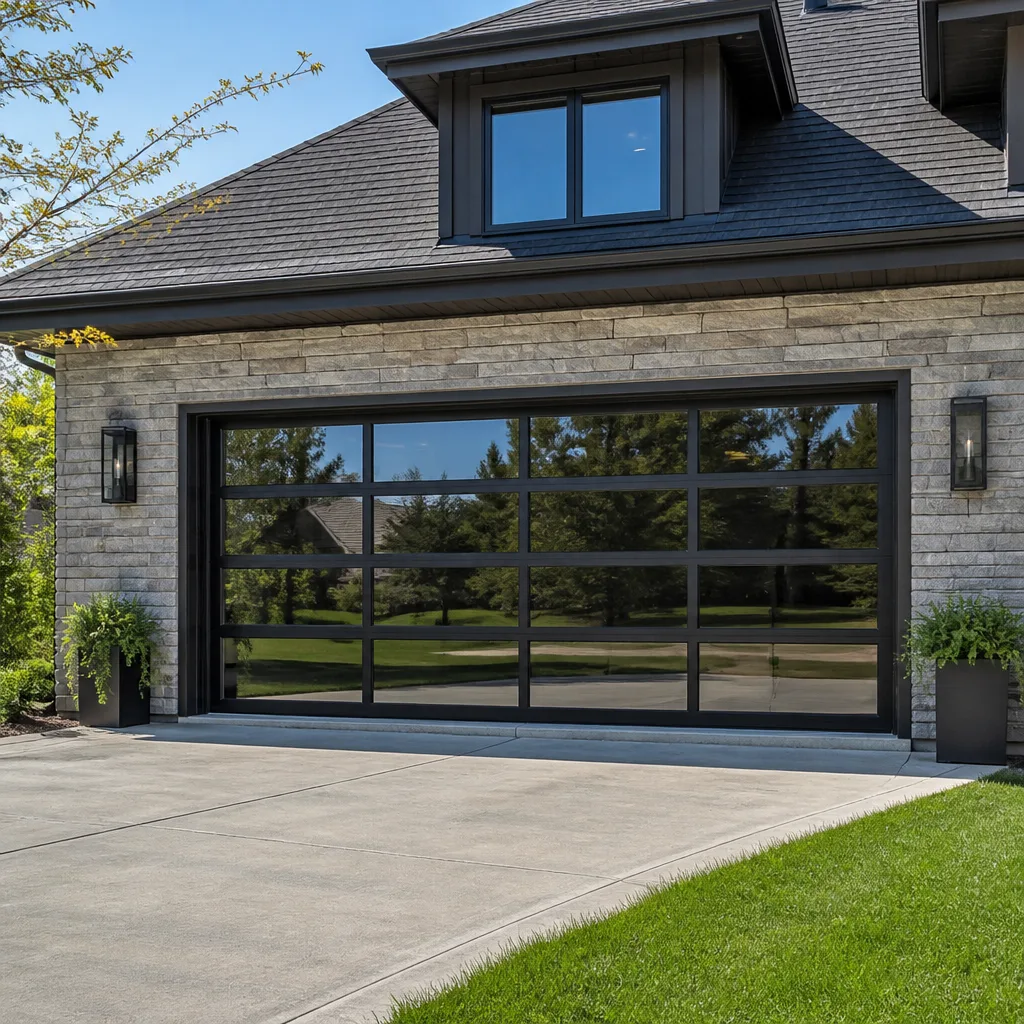 Full-view glass
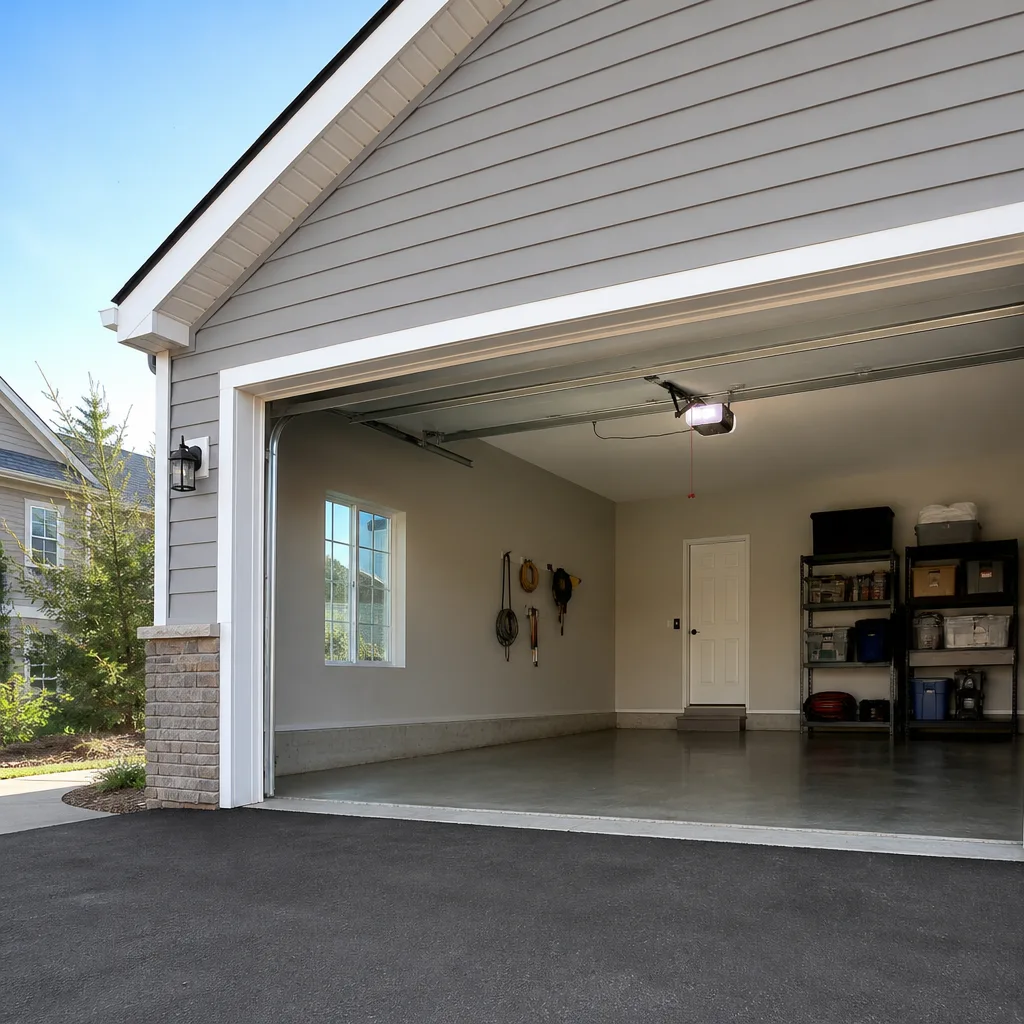 LiftMaster openers
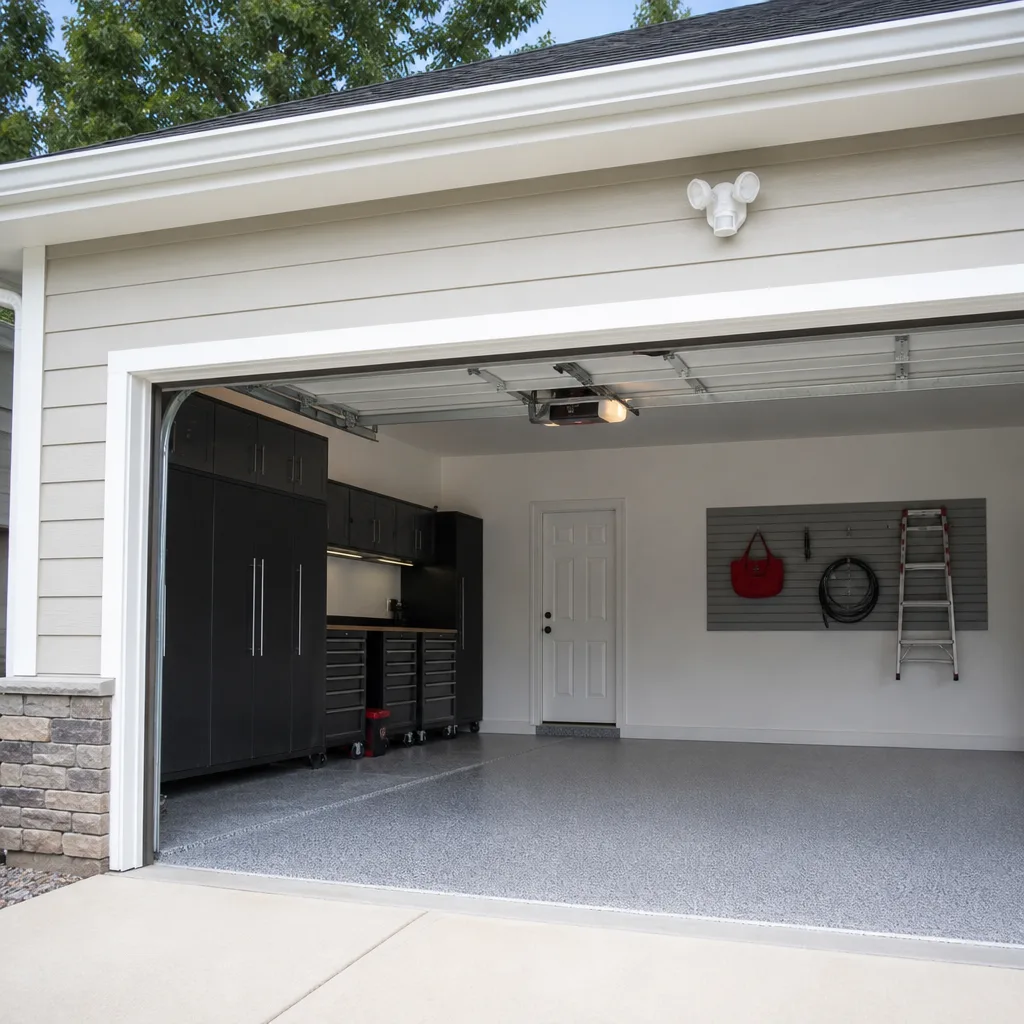 Chamberlain openers
Full 25-point door and opener safety check with every visit - springs, cables, rollers, tracks, and your LiftMaster or Chamberlain opener included
You get a price before we start. It does not change when the truck arrives.
Get your free estimateGarage Door Repair Troubleshooting: Common Problems and How to Fix Them
A garage door that reverses before hitting the floor is almost never a sensor problem. It’s usually a spring tension issue that’s making the opener work against itself, yet “dirty sensors” is the first thing every generic guide tells you to check. That misdiagnosis costs homeowners in Baldwin Park and everywhere else hours of frustration and often a service call for a problem they made worse. This guide works backward from the exact behavior of your door to pinpoint the specific component at fault. We’ll cover the failure chain behind each symptom, which steps you can safely handle yourself, and the precise moment you should put the tools down and call someone who does this every day.
Quick Answer
Most garage door problems trace back to one of five components: springs, cables, sensors, tracks, or the opener itself. Start by identifying the exact behavior (won’t open, won’t close, reverses, grinds, moves slow), then work through the matching troubleshooting path below. If the door involves a broken torsion spring, a snapped cable, or any issue where the door is off its track, stop and call a professional for garage door repair in Baldwin Park – these are not DIY fixes.
Styles & brands we work with
- Raised-panel steel
- Carriage house
- Modern flush
- Full-view glass
- LiftMaster openers
- Chamberlain openers
Table of Contents
- Door Won’t Open: The Failure Chain Behind a Dead Door
- Door Won’t Close or Reverses Mid-Cycle
- Door Opens Partially Then Stops
- Noisy Door: Grinding, Squealing, Rattling, and What Each Sound Means
- Door Moves Slowly or Jerks During Operation
- Reading LED Error Codes on LiftMaster, Chamberlain, and Genie
- Common Mistakes to Avoid
- When to Call a Professional
- Frequently Asked Questions
Door Won’t Open: The Failure Chain Behind a Dead Door
When a garage door won’t open, homeowners tend to assume the opener motor died. In our experience across Baldwin Park neighborhoods, the opener is usually the last thing to fail. The door itself, the springs, or the connection between the two gives out first, and the opener gets blamed because it’s the part that makes noise.
Here’s the mechanical relationship that matters: your opener is not designed to lift the full weight of the door. The springs do that job. The opener is just a motor that moves the door along the track once the springs have already balanced the load. When a spring breaks, the opener suddenly has to lift 150 to 250 pounds of dead weight. A good opener will refuse. A worn one will try, strain, and eventually burn out its motor or strip its internal gear.
- Check if the door is disconnected from the opener. Pull the red emergency release cord hanging from the trolley. Now try lifting the door by hand. If it feels extremely heavy or won’t budge, you have a broken spring. Stop here. Torsion springs hold enormous tension and a broken one can release that energy violently. Call a technician.
- If the door lifts easily by hand, the opener is the problem. Reconnect the trolley (pull the cord again and run the opener until it re-engages). Check that the opener has power – outlet, breaker, GFCI. In Baldwin Park homes built before 1990, we regularly find garage outlets on the same GFCI circuit as a bathroom, and the GFCI has tripped.
- Look at the opener’s LED display. LiftMaster and Chamberlain units flash a diagnostic code. Count the flashes and check the section on error codes below. Genie openers show a red indicator light sequence on the back of the motor head.
- Check the wall button and remotes separately. If the wall button works but remotes don’t, you have a remote programming or battery issue, not a door issue. If nothing works, skip ahead to the error code section.
The five steps that matter are: check the disconnect, check for broken springs, check power, read the error code, test the wall button. The six that waste your time are: tapping the motor with a hammer, replacing remote batteries as a first step, lubricating random parts, adjusting the limit screws without knowing their current position, disconnecting and reconnecting the opener repeatedly, and searching YouTube for “garage door not opening” before doing any of the above.
We work on LiftMaster, Chamberlain, Genie, and Raynor openers, and the failure patterns are consistent across brands. The door’s mechanical state almost always drives the opener’s behavior, not the other way around.
Door Won’t Close or Reverses Mid-Cycle
This is the most misdiagnosed symptom in garage door troubleshooting. The door starts closing, gets partway down, then reverses back up. The internet says “clean your sensors,” and in about 20% of cases that’s actually right. The other 80% are spring tension problems, limit setting errors, or a track obstruction that has nothing to do with the sensor eyes.
Start with the failure chain. For the door to close safely, three things must happen in sequence: the sensors must confirm the path is clear, the springs must control the descent with balanced tension, and the opener’s limit switch must tell the motor when it has reached the floor. A failure at any point in that chain produces the same symptom: the door reverses.
- Observe the reversal point carefully. This is the single most useful diagnostic detail. A door that reverses after traveling 6 to 12 inches is almost always a sensor issue. A door that reverses when it’s two-thirds of the way down or near the floor is almost never a sensor issue. That’s spring tension or limit travel.
- If it reverses early, check the sensors visually. Both sensor eyes should have a solid LED – typically green on one side, amber or red on the other. If one LED is blinking, flickering, or dark, that sensor is misaligned or blocked. Loosen the wing nut on the mounting bracket, realign the eye so it faces its partner directly, and tighten. Check for spider webs inside the sensor lens – this is a common Baldwin Park issue in older garages.
- If it reverses late, check spring tension. When springs wear down, the door becomes heavier, and the opener interprets the extra resistance as an obstruction. It reverses as a safety response. You can test this by disconnecting the door with the emergency release and lifting it halfway. A properly balanced door stays in place at the halfway point. If it drops, the springs need adjustment or replacement.
- Check the close limit setting. If the door hits the ground and immediately reverses, the opener thinks it traveled too far. The close limit screw or button needs adjustment back a quarter turn. On newer LiftMaster and Chamberlain models, this is a digital setting accessed through the wall control, not a screw on the motor head.
In Baldwin Park’s older homes, we see a lot of doors that have been installed for 15 to 25 years with original springs. Those springs were only built for about 10,000 cycles – roughly 7 to 10 years of daily use. When they weaken, the reversal symptom shows up slowly at first, then more often, and eventually the door won’t close at all. That’s the spring telling you it’s done.
Door Opens Partially Then Stops
A door that opens a foot or two and then stops is not the same problem as a door that won’t open at all. This symptom points to one of three things: a spring that has lost tension on one side, a track obstruction or misalignment, or a travel limit that has drifted out of position.
The spring diagnostic comes first because it’s the most common cause and the most expensive to ignore. When one of your two torsion springs breaks, the door still lifts – but only on one side. The opener pulls unevenly, the door binds in the track, and the motor stops as a safety response. You can often see a visible gap in the spring on the side that failed. A broken spring shows a clean break, often with a gap of an inch or two between coils. Do not attempt to wind or unwind a spring yourself. This is where we draw the DIY line without exception.
Track problems are next. Look at the vertical track on both sides of the door. The rollers should sit fully inside the track with no visible gap. In Baldwin Park’s newer developments with post-tension slab foundations, we sometimes see minor settling that shifts the track brackets enough to cause binding. A track that’s out of square by even a quarter inch will stop a door mid-travel.
If springs look intact and tracks look straight, the travel limit is the likely culprit. On an opener with limit screws, mark the current position with a small dot of nail polish or tape before you adjust anything. Then turn the “up” limit screw a quarter turn in the direction that increases travel. Run the door. If it improves, adjust another quarter turn. If you lose track of the original setting, you’ll wish you had marked it.
The relationship here matters: springs balance the door, tracks guide it, and limits tell the opener how far to travel. When any one of these three measurements drifts, the door stops short. Diagnosis is isolating which one changed.
Noisy Door: Grinding, Squealing, Rattling, and What Each Sound Means
Sound is the most underused diagnostic tool in garage door troubleshooting. Each noise has a specific source, and identifying the sound correctly tells you which component needs attention before you take anything apart.
- Grinding or metal-on-metal scraping: This is almost always a roller problem. The bearings inside a roller wear out over time, and the wheel stops rolling freely, dragging along the track instead. If left alone, a seized roller will flatten one side and eventually score the track. Fix: replace the roller. Steel rollers are the cheap fix, but nylon rollers are quieter and wear the track less.
- Squealing or high-pitched whine: On a belt-drive opener, a squeal usually comes from the belt tensioning system or the motor pulley. On a chain-drive opener, the chain itself may be loose and dragging on the rail. A brief squeal when the door starts moving in cold weather is often just the belt contracting in Baldwin Park’s colder winter mornings – but a persistent squeal is wear.
- Rattling when the door moves: Loose hardware. The nuts and bolts that hold the track brackets, hinges, and opener rail to the ceiling all vibrate loose over years of daily cycles. A rattle is the sound of metal parts that have clearance where they should have tension. Walk the door with a socket wrench and snug everything down, starting with the brackets on each hinge.
- Banging or slamming at the top or bottom: The travel limits are wrong. The door is hitting the end of its travel too fast or too far. Adjust the limit settings, not the spring tension.
In Baldwin Park’s older pre-1985 homes, we regularly find original steel rollers that have never been replaced. The door still works, but it sounds like a freight train, and the wear on the track is cumulative and expensive. A set of nylon rollers is a modest repair that saves a full track replacement later.
Door Moves Slowly or Jerks During Operation
A door that moves slowly is a door that’s working harder than it should. The opener motor is applying the same force it always has, but something has increased the resistance. That something is usually spring fatigue.
Springs lose tension gradually. Unlike a broken spring, which is obvious, a tired spring is subtle. The door still opens and closes. It just does it slowly. The opener strains, draws more current, and runs hotter. Every extra second of run time is extra wear on the motor, the gear, and the belt or chain.
Jerky movement is different. A door that moves in fits and starts is binding somewhere in its travel path. Look for a bent track, a misaligned roller, or a hinge that’s pulling away from the door section. The fix is often as simple as realigning a bracket or replacing a single hinge pin, but finding the binding point takes patience. Move the door by hand with the emergency release pulled, and feel for the spot where the resistance spikes. That’s the section of track or hardware to inspect.
Lubrication is the first thing generic guides recommend for a slow door, and it’s occasionally the right answer. But there’s a right way and a wrong way to lubricate a garage door. Use a lithium-based grease or a dedicated garage door lubricant on the hinges, roller bearings, and the torsion spring. Do not use WD-40 – it’s a solvent, not a lubricant, and it strips the protection from moving parts. Do not lubricate the track itself. The rollers roll on the track, and a greasy track collects dirt and accelerates roller wear. In Baldwin Park’s dry, dusty summers, a greased track becomes a grinding paste within weeks.
Reading LED Error Codes on LiftMaster, Chamberlain, and Genie
Your opener has a built-in diagnostic system, and it’s the fastest path from symptom to solution. Most Baldwin Park homeowners we talk to have never used it because the codes aren’t printed on the unit in plain English. Here’s what the flashing lights mean on the brands we work with most.
LiftMaster and Chamberlain (same parent company, same code system):
- 1 flash: No problem – the door isn’t closing because the sensors are blocked or misaligned. Check alignment first.
- 2 flashes: The sensor wiring is shorted or the wall button is stuck. A doorbell button that’s jammed in the pressed position sends a constant signal that reads as a fault.
- 4 flashes: The door is hitting an obstruction. Check for anything in the track path, then check the close force setting.
- 5 flashes: The motor has overheated. Give it 15 minutes to cool down, then check why it overheated – usually spring fatigue making the motor work too hard.
- 6 flashes: The internal travel module needs to be reprogrammed. This is a doable DIY reset on most models: hold the adjustment button until the light blinks, then run the door through a full open and close cycle.
Genie:
- Red light flashing slowly: Normal operation, standby mode.
- Red light flashing quickly: The opener has detected a force issue. Check for obstructions and clean or realign the sensors.
- Red light solid: A component failure on the circuit board, typically requiring replacement of the receiver or the board itself.
- Green light flashing: The wall console is not communicating with the motor head. Check the wire connection first; it’s usually a staple that’s pinched the wire.
Raynor openers use a system similar to LiftMaster since many Raynor models share internal components with Chamberlain’s manufacturing line. The pattern of flashes follows the same sequence, but if you’re unsure, the garage door opener repair in Baldwin Park team can pull the code history and diagnose it quickly.
One caveat on DIY error code reading: the code tells you what the opener thinks is wrong, not necessarily what is wrong mechanically. A “sensor blocked” code with perfectly clean sensors often means the door itself is binding mid-travel and the opener is misinterpreting the cause. Use the code as a starting point, not a final answer.
Common Mistakes to Avoid
- Adjusting the springs without a winding bar. Every year, homeowners end up in the emergency room trying to tension a torsion spring with a screwdriver or a piece of pipe. The energy stored in a wound spring is more than enough to break bones. This is a hard line: springs are professional territory, period.
- Replacing the opener before checking the door. A new opener will not fix a door with worn springs. It will fail the same way the old one did, just faster because the motor is fresh and trying harder. We’ve replaced openers in Baldwin Park homes where the door was original to the house, only after the springs were serviced or replaced.
- Lubricating the track. Grease on the track is the most common mistake we see from well-meaning homeowners. It accelerates roller wear and turns the track into a magnet for California dust.
- Ignoring a reversing door once it starts behaving again. Safety eyes that work intermittently are not fixed. They’re dirty or misaligned, and the next failure might not be a reversal – it might be a door that closes on something. Repair the underlying issue, not the symptom.
- Marking limit screw positions with memory instead of a marker. If you adjust a limit screw and make it worse, you need to know exactly where you started. A dot of nail polish or a sharpie line takes five seconds and saves an hour of guesswork.
- Using WD-40 on anything. It’s a cleaner, not a lubricant. For garage door hinges, rollers, and springs, use lithium grease or a silicone-based garage door lubricant. WD-40 will dry out the surface and leave it worse than before.
- Assuming the opener is dead because the remotes don’t work. If the wall button opens the door, the opener is fine. The problem is in the remote receiver, the remote battery, or the remote programming. Replacing a working opener because a $3 battery died is a very expensive phone call.
When to Call a Professional
Call a professional if your door has a broken torsion spring, a snapped cable, a door that has come off its track, or any roller that has come out of the track while the door is under tension. These situations involve stored mechanical energy, and the risk of serious injury is not theoretical. Call a professional if you’ve tried the sensor checks, limit adjustments, and error code reading above and the door still reverses, still binds, or still makes a grinding sound. Call a professional if your door is more than 15 years old and showing multiple symptoms – the failure chain usually means several components are reaching the end of their service life together. Foxwood Garage Door Repair offers free estimates in Baldwin Park – call (866) 714-6304. We work on the brand you have, not the brand we prefer.
Frequently Asked Questions
Most garage door repairs in Baldwin Park run between $150 and $400, with broken spring replacement typically in the $180 to $300 range and opener replacement between $350 and $650 installed. The exact cost depends on the door’s age, brand, and whether multiple components need service at once. Call (866) 714-6304 for a free estimate on your specific door.
In many cases yes, especially for spring replacements and common opener repairs. The fastest way to find out is to call (866) 714-6304 and describe what the door is doing – the call takes two minutes, and we’ll let you know at the outset whether it’s a same-day fix or whether parts need to be ordered for your specific brand.
A door that reverses late in its travel cycle is usually fighting spring tension that has worn down, not a sensor problem. The opener interprets the extra resistance as an obstruction and reverses as a safety response. Sensor misalignment produces early reversals, within the first 6 to 12 inches of travel.
Yes. We’re factory-familiar with LiftMaster, Chamberlain, Genie, Clopay, Amarr, Wayne Dalton, Craftsman, and Raynor, and we diagnose each system to the manufacturer’s spec rather than applying a generic fix. Brand-matched parts and programming mean fewer callbacks and no compatibility surprises.
No. The price we quote is the price you pay, agreed in writing before any work starts. If we find additional issues while diagnosing, we show you what we found and what the options are – we don’t add work or cost without your sign-off.
We carry the most common springs, rollers, cables, and opener parts in our service vehicles, covering the brands we service most often in Baldwin Park. For less common brand-specific components, we source directly from the manufacturer and schedule the repair when the part arrives. Call (866) 714-6304 and describe your door – we’ll tell you upfront what to expect on parts availability.
The Bottom Line
Garage door troubleshooting is a process of elimination, but it’s elimination in the right order. Start with the door’s exact behavior. Check the mechanical components before the opener. Read the error codes before replacing anything. Know your hard stop – springs, cables, and off-track doors are not DIY work, no matter how many YouTube videos say otherwise. And if you’ve spent more than an hour chasing a diagnosis without progress, the time you’re spending isn’t free. Foxwood Garage Door Repair offers free estimates in Baldwin Park and services the full garage door lifecycle: repair, opener service, and new installation. One call at (866) 714-6304 gets you a diagnosis from someone who’s seen every failure pattern in the book.
Written by the team at Foxwood Garage Door Repair, serving Baldwin Park since 2015. We specialize in garage door repair, garage door opener repair, and garage door installation across the San Gabriel Valley. Learn more at our Foxwood Garage Door Repair home page.
See the difference
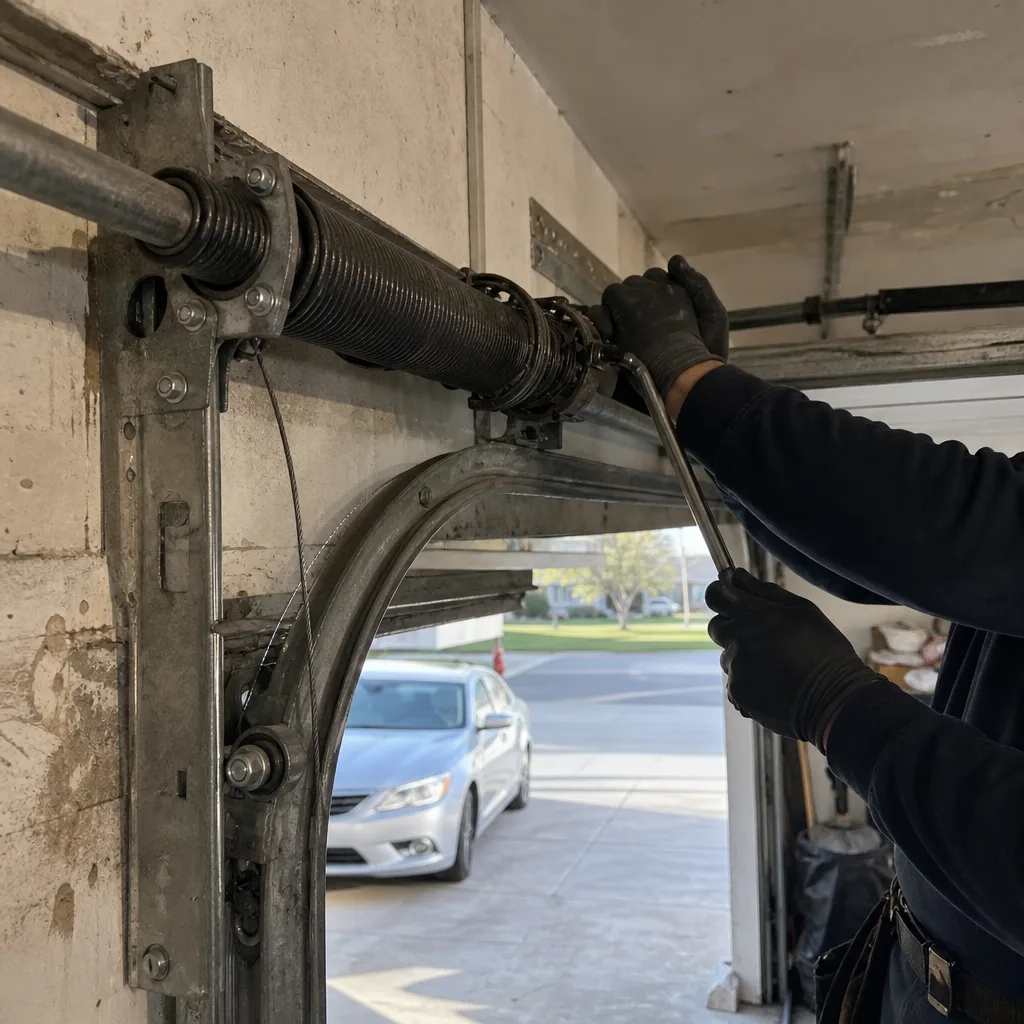 Before
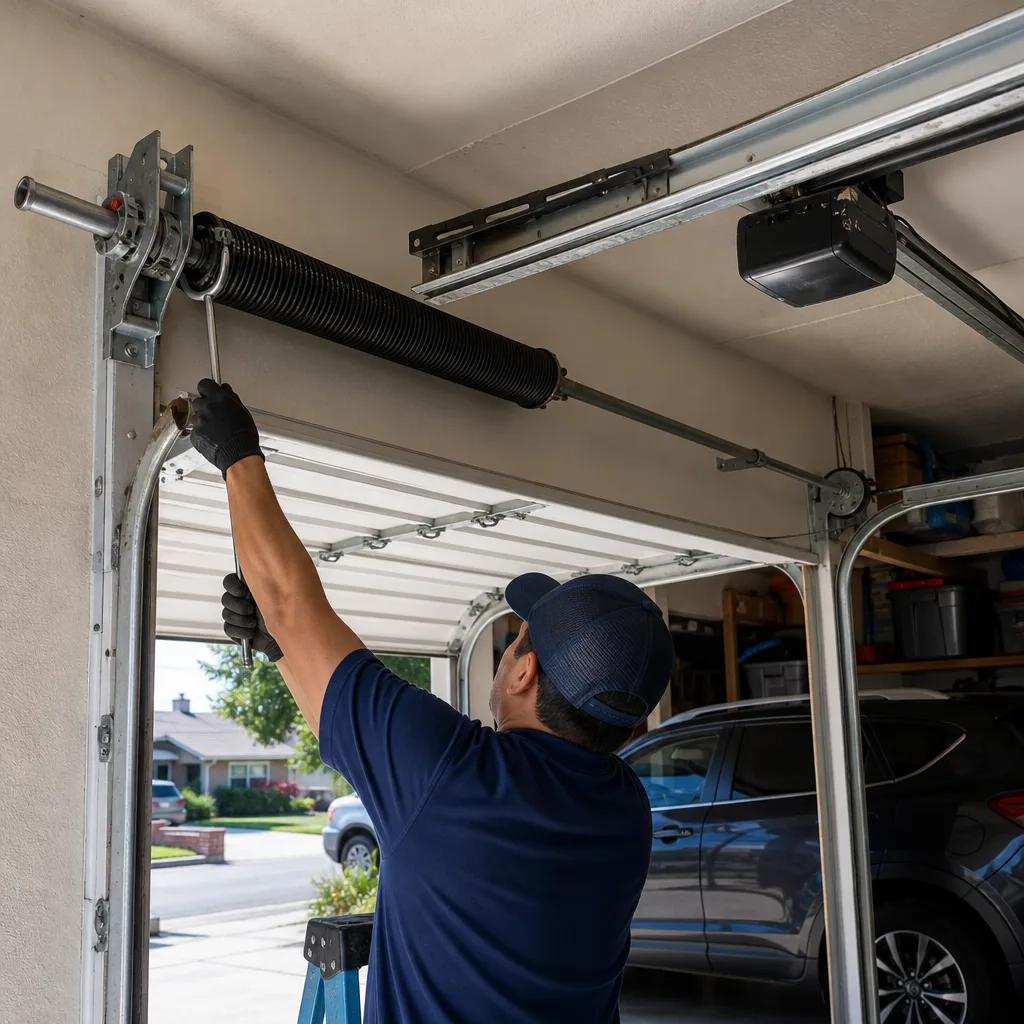 After
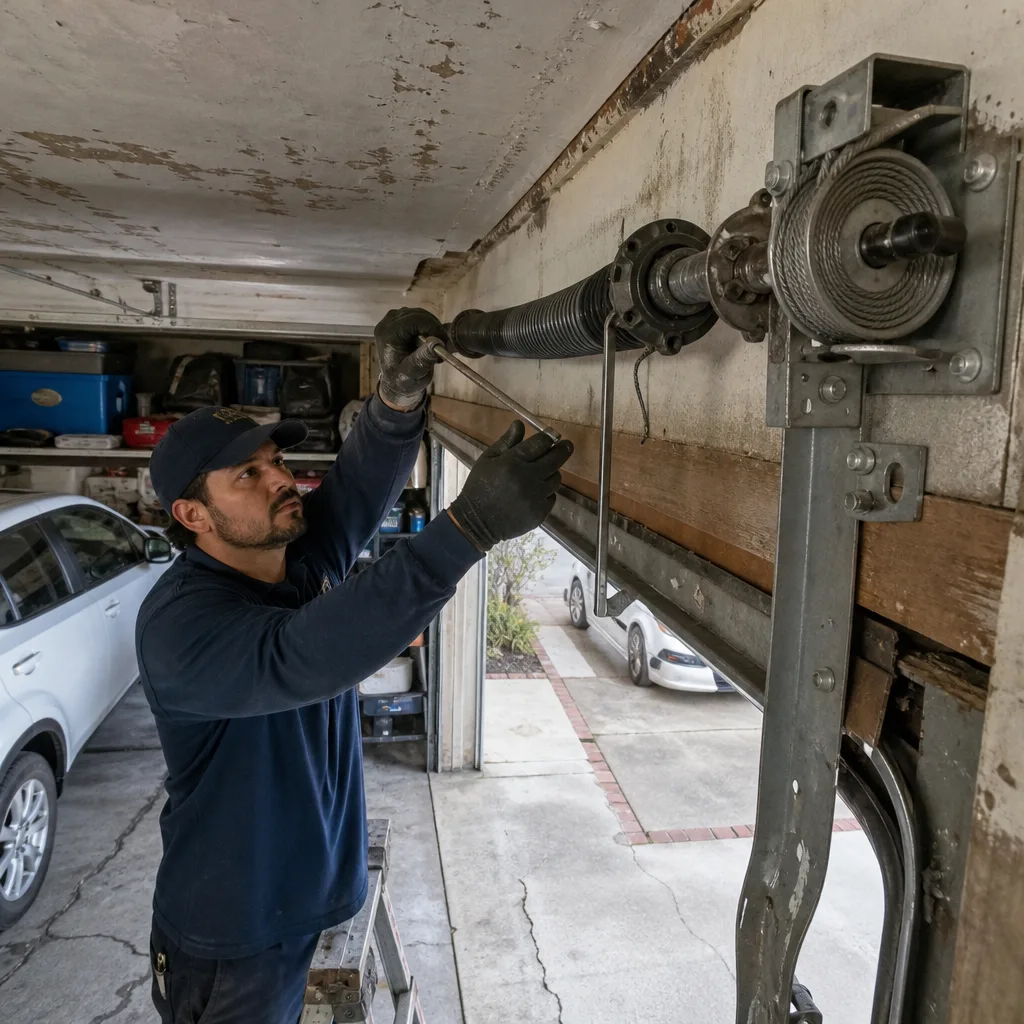 Before
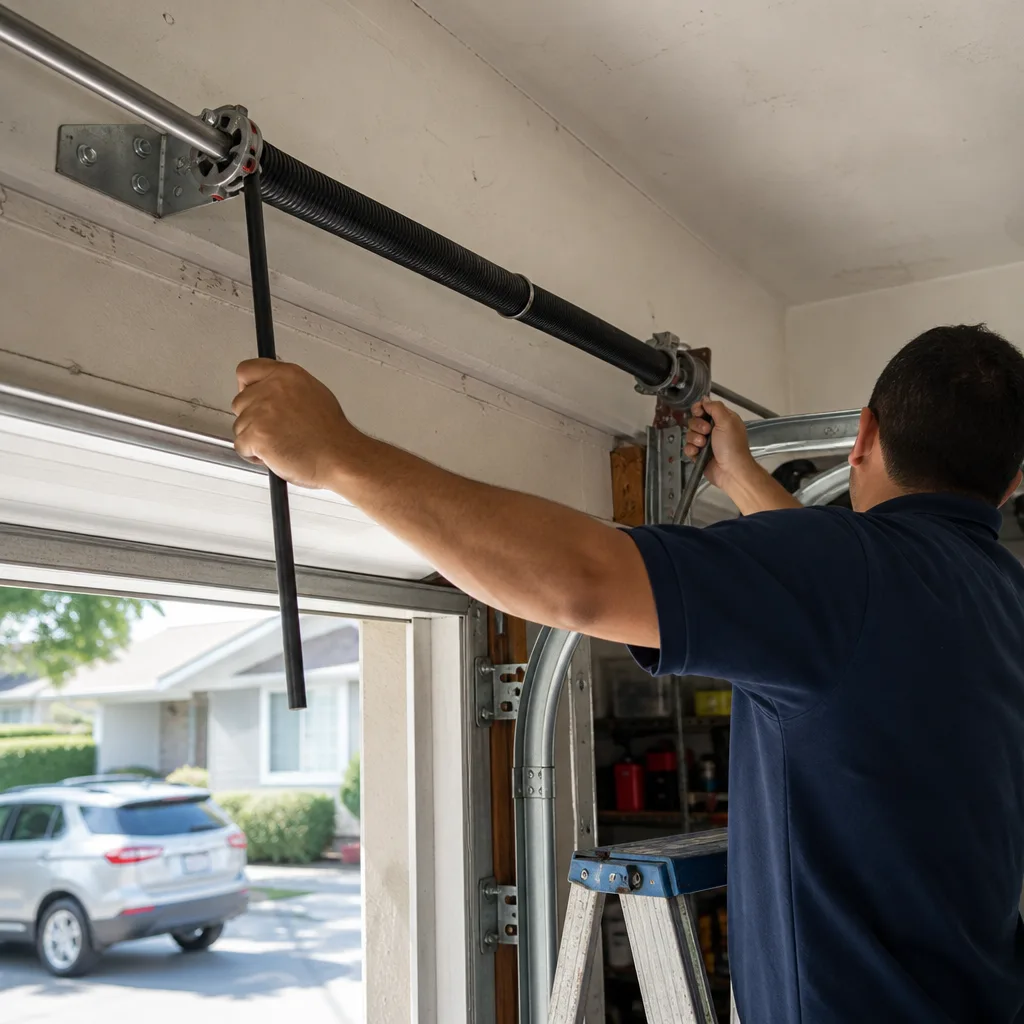 After
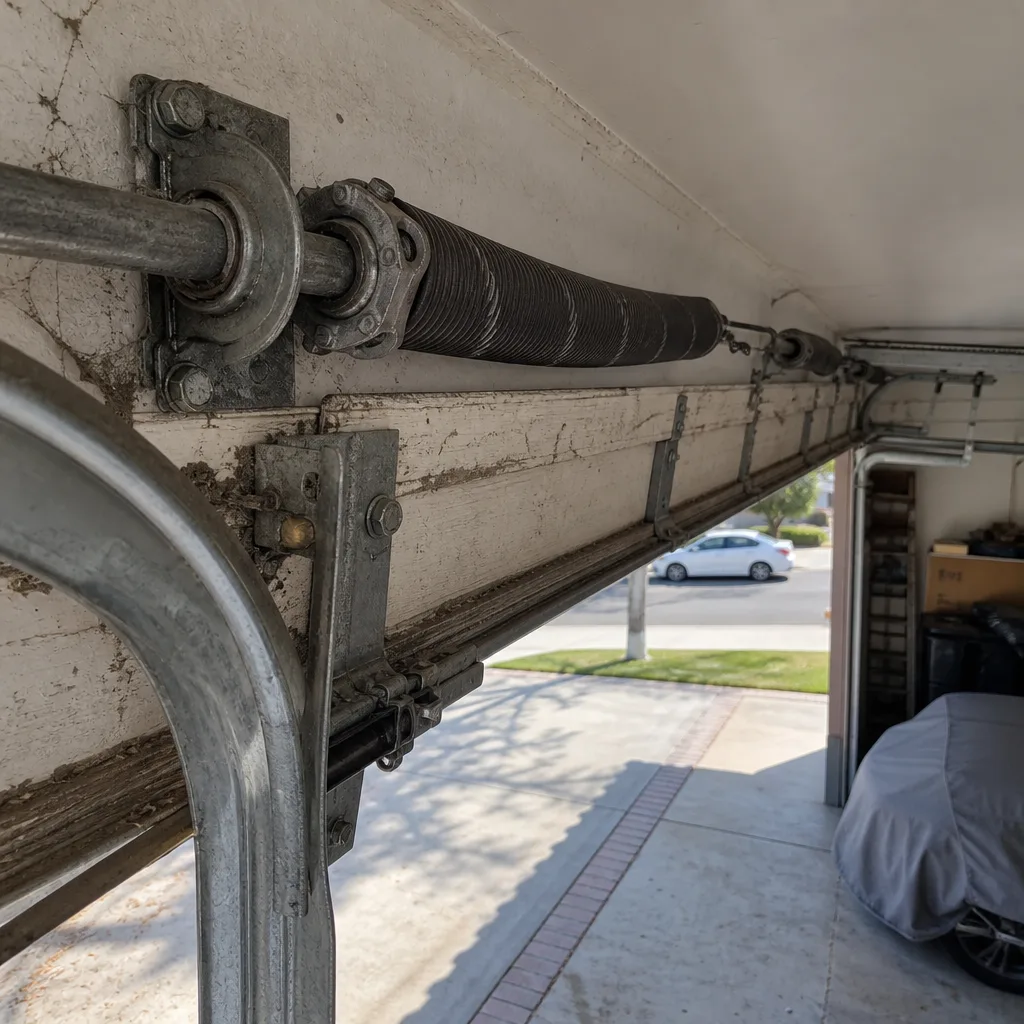 Before
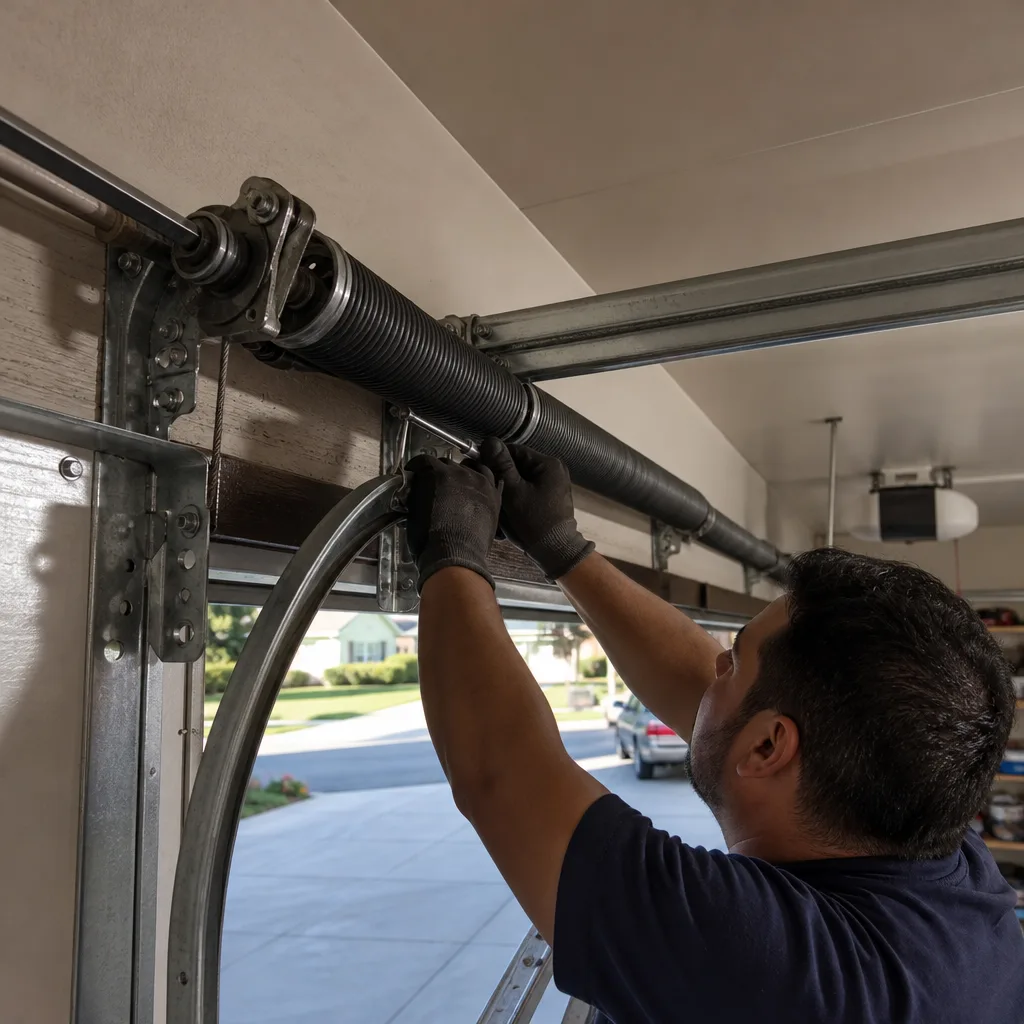 After